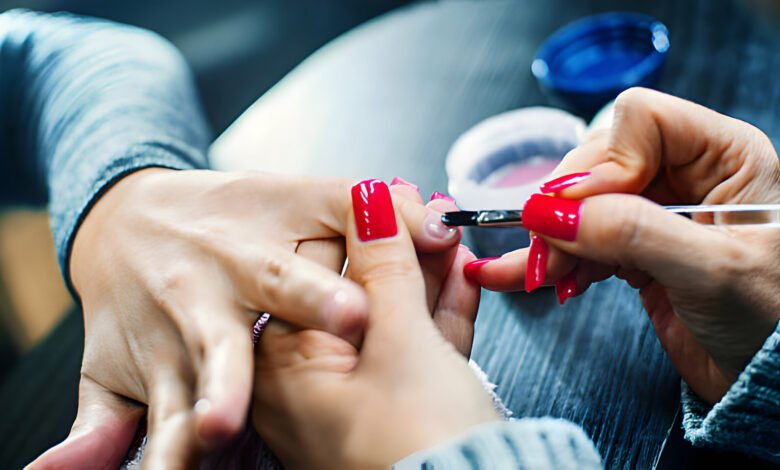
For their long-lasting nature and shiny finish, gel manicures are a top choice in the nail care industry. Whether you’re a nail enthusiast or a busy individual looking for a low-maintenance solution, mastering the art of a long-lasting gel manicure can elevate your nail game to new heights. This comprehensive guide delves into the step-by-step process and expert tips to ensure your gel manicure stands the test of time.
Understanding Gel Manicures
Let’s take a moment to understand what sets a long-lasting gel manicure apart from traditional nail polish before we dive into achieving it. Gel manicures involve applying layers of gel-based polish to the nails, cured under a UV or LED lamp, to create a hardened, chip-resistant finish. This curing process ensures that the polish adheres firmly to the nail surface, resulting in a longer-lasting and glossy manicure than regular nail polish.
Prepping Your Nails
The key to a successful gel manicure lies in proper nail preparation. Start by removing any existing polish and gently pushing back your cuticles using a cuticle pusher. Next, use a fine-grit nail file to shape and smooth the edges of your nails. Avoid buffing the nail surface too aggressively, as this can weaken the nails and compromise the adhesion of the gel polish.
Nail Cleansing and Dehydrating
Once your nails are shaped and prepped, it’s essential to cleanse and dehydrate the nail surface to ensure optimal adhesion of the gel polish. Use a lint-free nail wipe or cotton pad soaked in alcohol or a specialized nail cleanser to thoroughly cleanse the nails, removing any traces of oil or debris. This step is crucial to promote the longevity of the gel polish and prevent premature chipping or lifting.
Applying a Base Coat
For a gel manicure to last long, it is essential to apply a high-quality base coat. Choose a base coat formulated explicitly for gel polish, as it will help smooth the nail surface and create a strong bond between the natural nail and the gel polish. Apply a thin, even layer of base coat to each nail, making sure to cap the free edge for added durability. Avoid applying the base coat too thickly, which can lead to uneven curing and potential gel polish lifting.
Curing Under UV or LED Lamp
After applying the base coat, it’s time to cure your nails under a UV or LED lamp. Follow the manufacturer’s instructions for the recommended curing time, typically 30 to 60 seconds per layer.
Ensure your nails are positioned evenly under the lamp for uniform curing. Once cured, the base coat should have a tacky or sticky layer, which is normal and indicates that it’s ready for the next layer of gel polish.
Choosing the Right Gel Polish
When it comes to selecting gel polish for your manicure, opt for high-quality brands known for their longevity and pigmentation. Look for gel polishes that are formulated to be chip-resistant and long-lasting, as these will provide the best results. Additionally, consider the color and finish you desire, whether it’s a classic nude or a bold statement hue.
Applying Gel Polish Layers
Now comes the fun part – applying the gel polish color of your choice. Begin by applying a thin, even layer of gel polish to each nail, ensuring full coverage from the cuticle to the free edge. Use gentle, even strokes to avoid streaks or uneven application. Once the first layer is applied, cure your nails under the UV or LED lamp for the recommended time. Repeat this process for a second layer of gel polish, if desired, to intensify the color and coverage.
Sealing with a Top Coat
To lock in your gel manicure and add a high-shine finish, seal the nails with a top coat. Choose a top coat specifically formulated for gel polish to ensure compatibility and longevity. Apply a thin, even layer of top coat to each nail, making sure to cap the free edge for added protection against chipping. Cure your nails under the UV or LED lamp for the final time, following the manufacturer’s instructions for the recommended curing time.
Nail Hydration and Maintenance
Once your gel manicure is complete, it’s essential to hydrate and nourish your nails to maintain their health and longevity. Apply a cuticle oil or hydrating nail serum to the cuticles and surrounding skin, massaging gently to promote absorption. This will help to replenish moisture and prevent dryness, keeping your nails looking and feeling their best between manicures.
Tips for Long-lasting Results
- Avoid exposing your gel manicure to harsh chemicals or solvents, such as household cleaners or acetone-based nail polish removers, as these can weaken the gel polish and cause premature chipping.
- Wear gloves when performing tasks that may expose your nails to water or abrasive surfaces, such as washing dishes or gardening, to protect your manicure.
- Be mindful of your nail habits, such as biting or picking at your nails, as these can damage the gel polish and lead to lifting or chipping.
- Schedule regular maintenance appointments with your nail technician to fill in any gaps or regrowth at the nail bed and ensure the longevity of your gel manicure.
In Conclusion
You can achieve a long-lasting gel manicure using the right techniques and products. Following these step-by-step instructions and expert tips, you can enjoy beautifully manicured nails that stand the test of time. Whether you’re a nail enthusiast or someone seeking a low-maintenance solution, mastering the art of a gel manicure will elevate your nail game to new heights of style and sophistication.
Read Related: Why Do My Gel Nails Keep Lifting?


